
Add a SIP Trunk
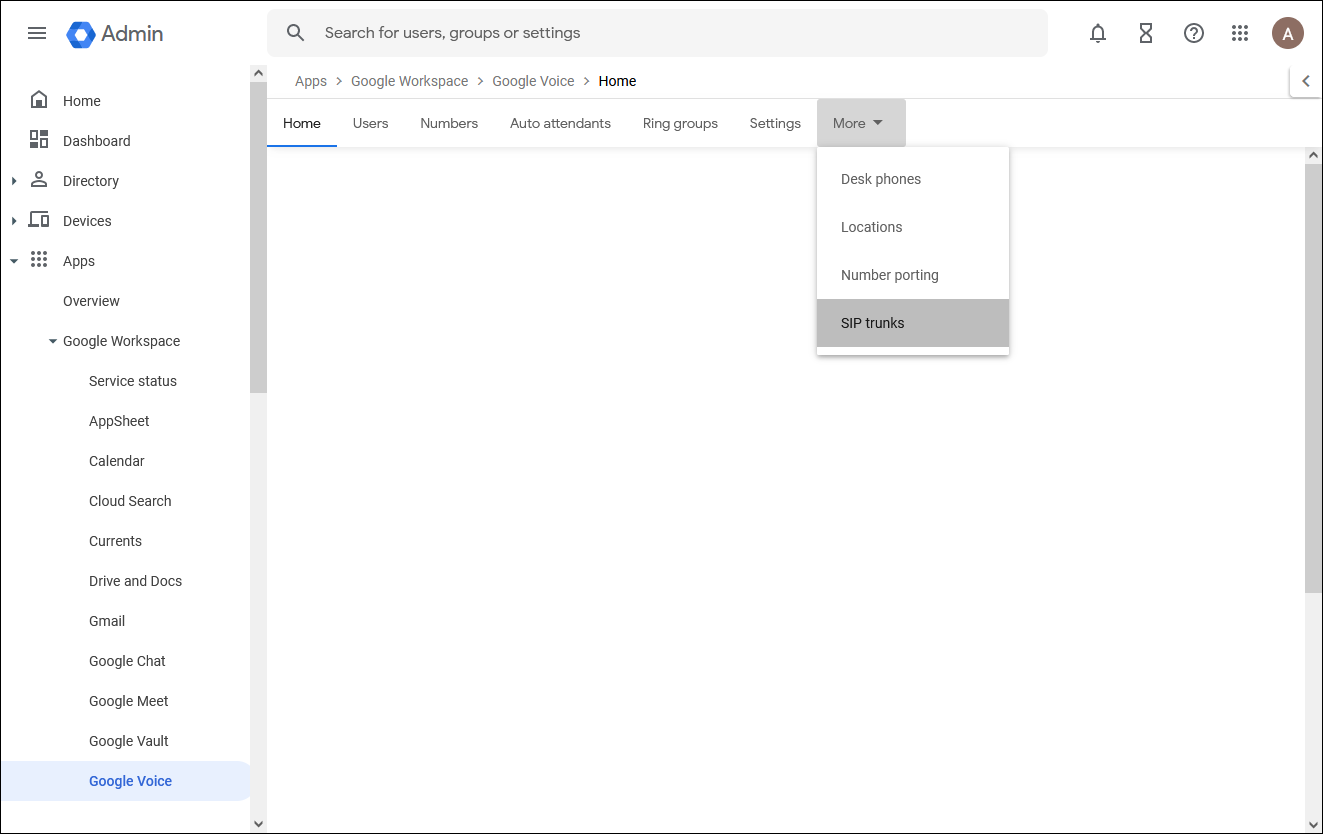
You can set up anynode as SBC in the Google Voice SIP trunk settings. To access these settings, click on the left menu selection on Apps, then navigate to Google Workspace, followed by Google Voice, More, and finally, SIP trunks. Please refer to the screenshot below for an example.
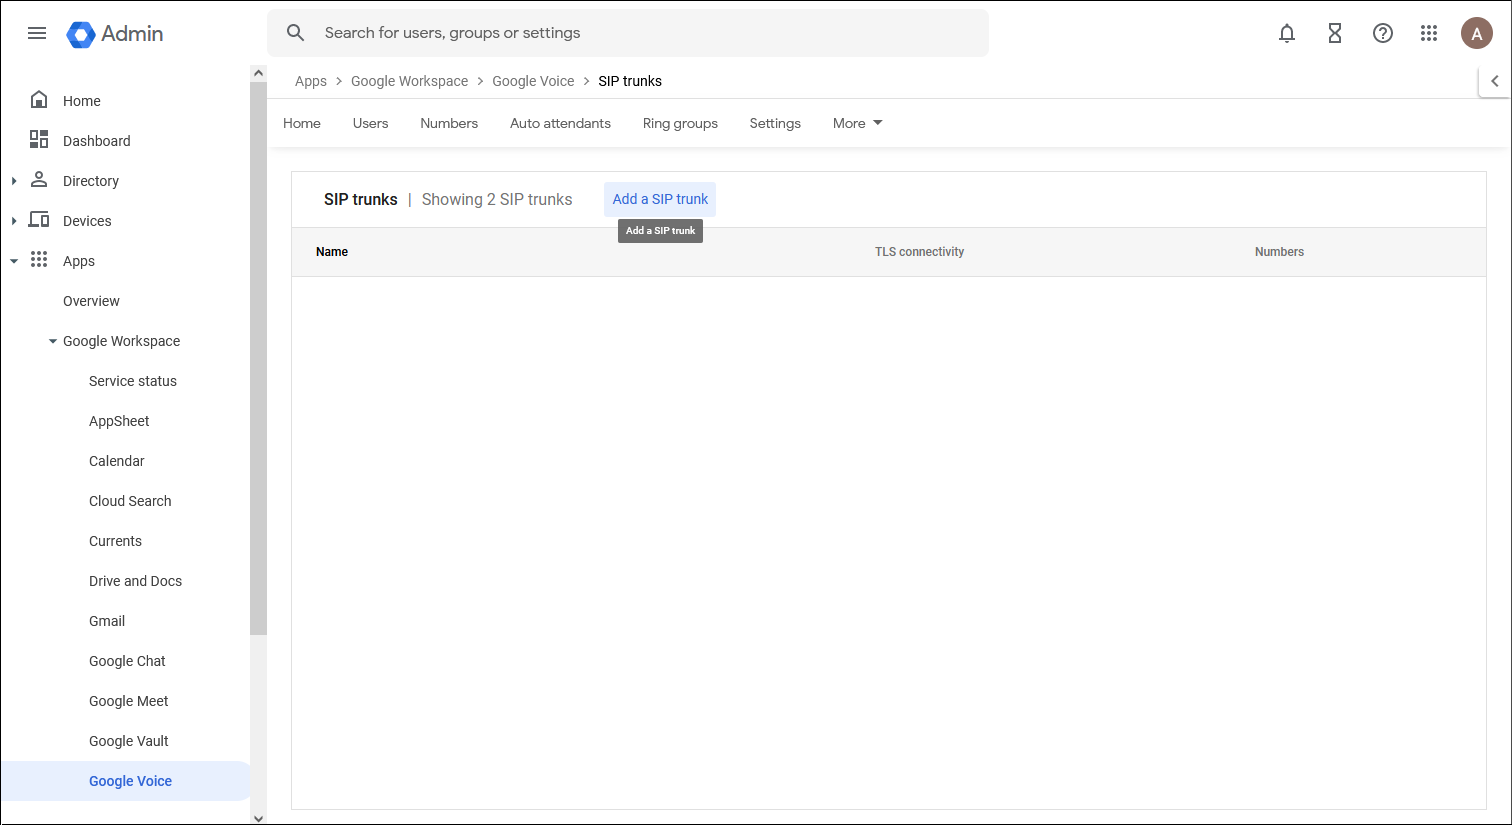
In the SIP trunks dialog, use Add a SIP trunk to create a new one.
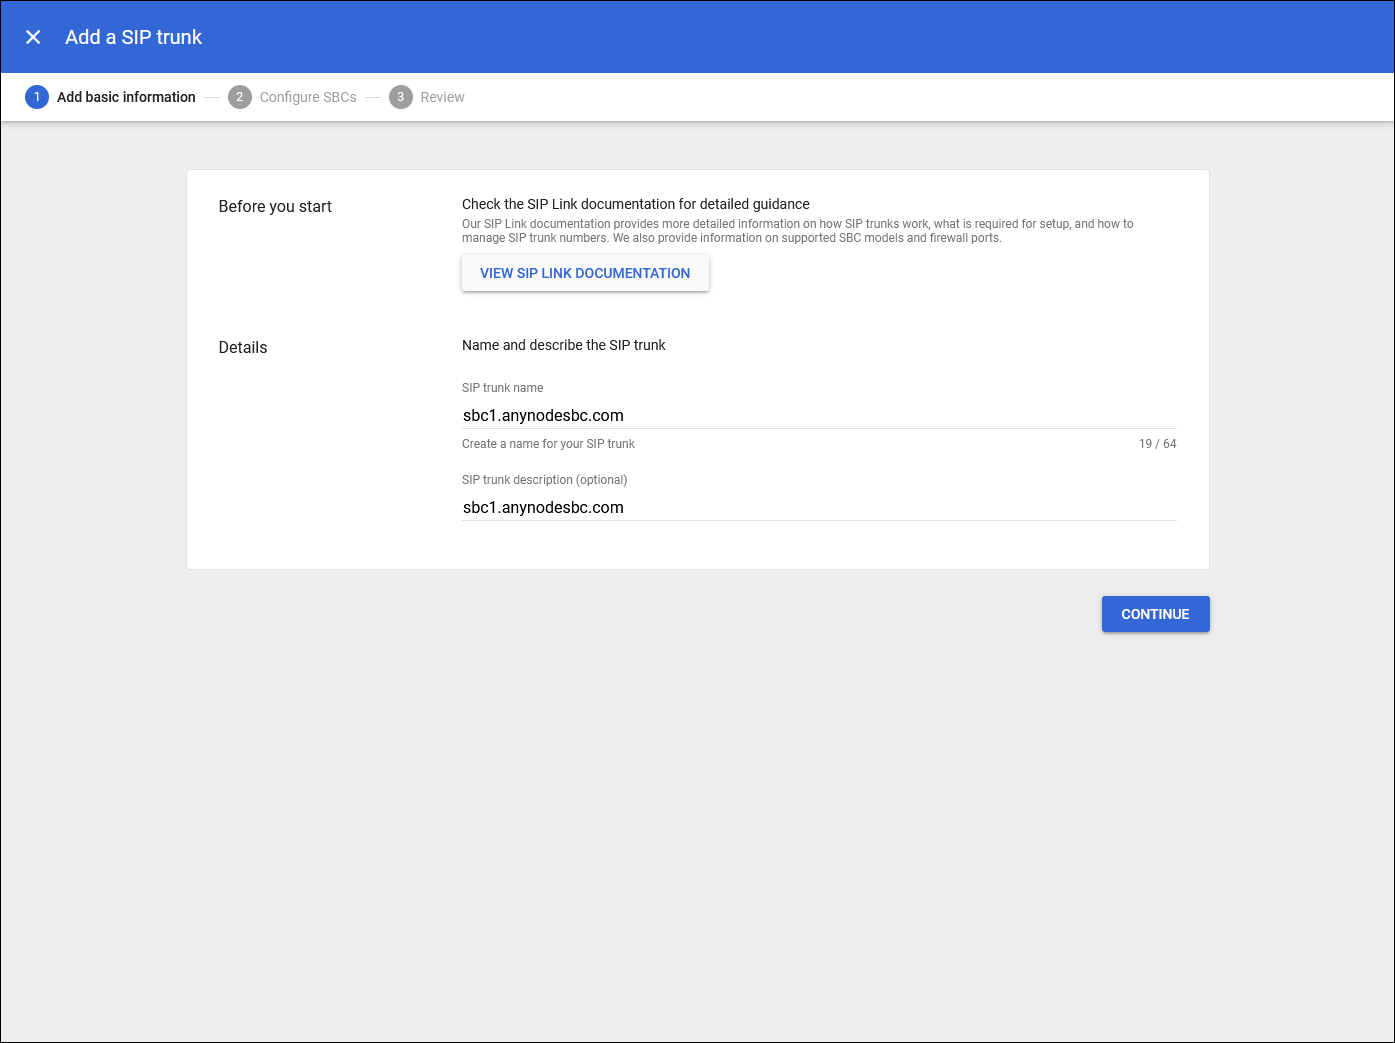
In the first step of setting up a SIP trunk, you will see a dialog titled Add basic information. Here, you can enter a name for the SIP trunk and include a desired description. For this example, we will use the FQDN sbc1.anynodesbc.com. Once all necessary information is entered, click on CONTINUE to proceed.
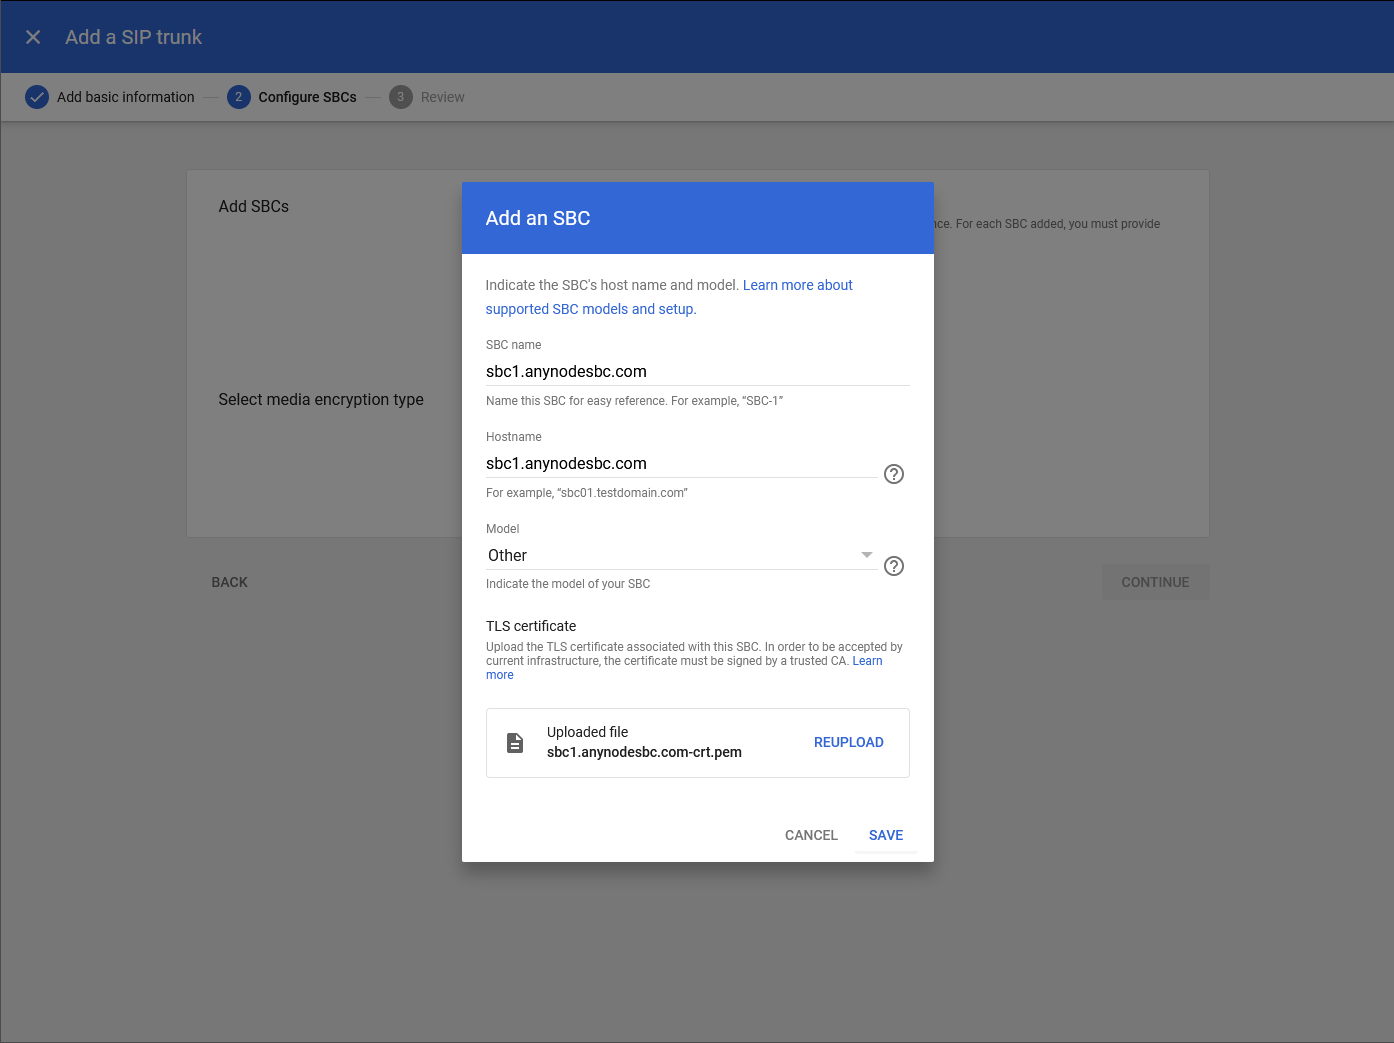
In the next Configure SBCs dialog, please enter the SBC name and Hostname. For the Model, select Other and then upload the corresponding anynode TLS certificate signed by a trusted Certificate Authority (CA). Once everything is set, click on SAVE to proceed.
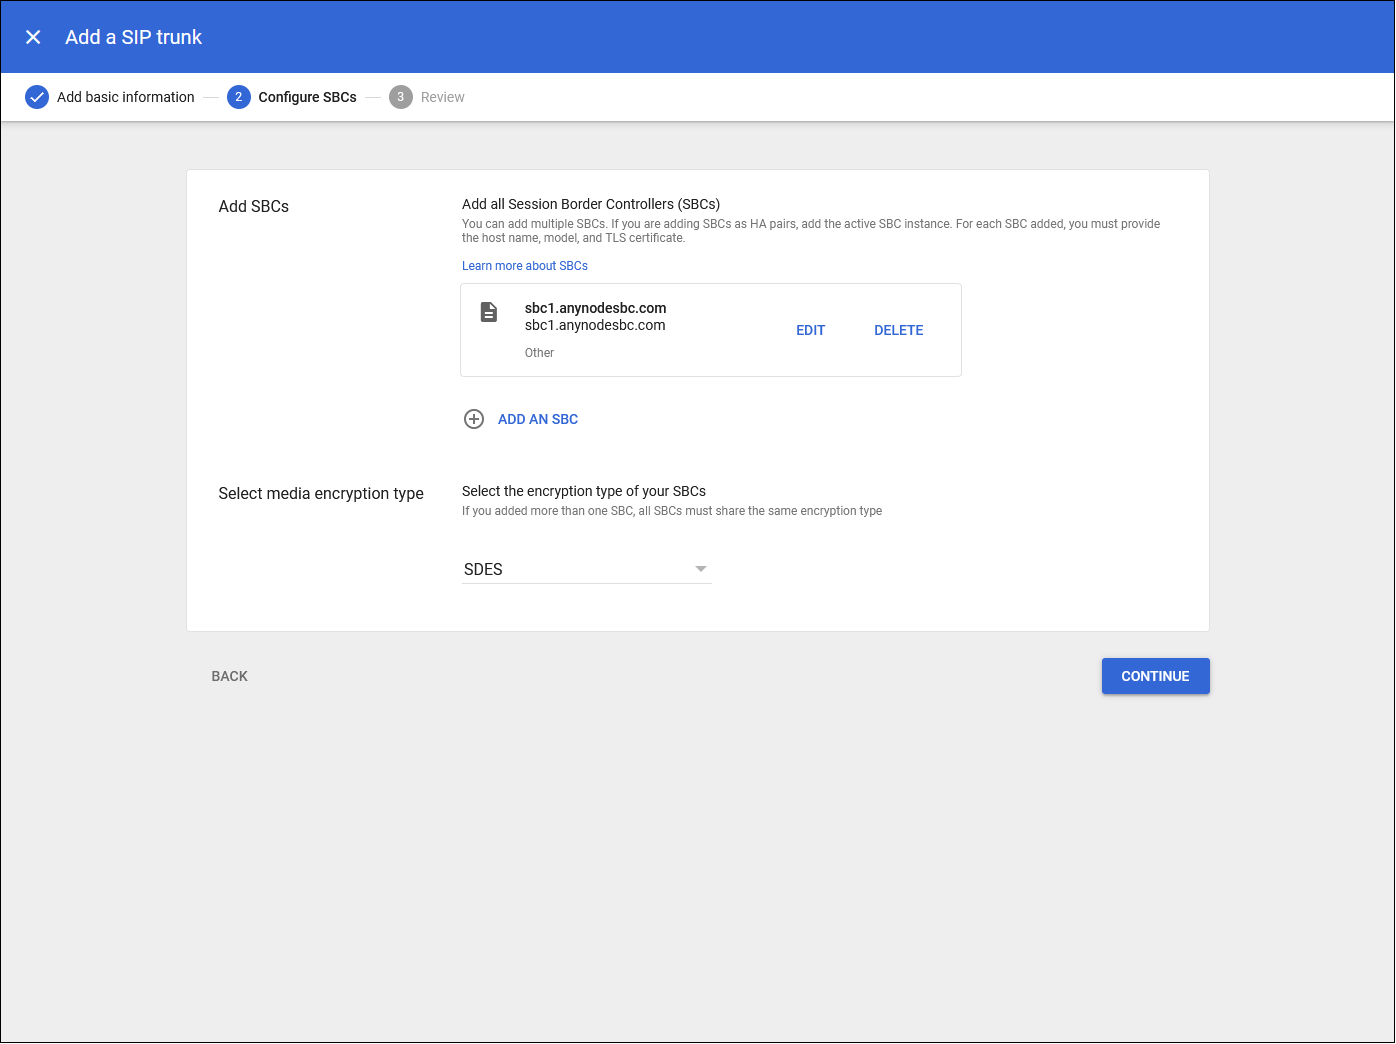
After returning to the Configure SBCs dialog, you will see an overview of the SIP trunk configurations provided. Review the settings and select SDES for the media encryption type option. Then, click on CONTINUE to proceed.
When you reach the Review section, a Secret key will be created for the X-Google-Pbx-Trunk-Secret-Key SIP header name. This unique key is necessary for anynode's Google Voice Node and can be added through the anynode assistant in the Google Voice-specific Settings. The Secret key can be modified or added later through the SIP User Agent dialog and the Vendor-specific settings in anynode's Google Voice Node, as described in the SIP User Agent chapter.
After you've completed the configuration for the SIP trunk, click on FINISH to finalize it.
To see an example of a created SIP trunk and how it connects online, check out the SIP Trunk Overview with Online TLS Connectivity. Additionally, if you want to view an example of the secret key related to the SIP trunk, you can refer to Showing the SIP Trunk Secret Key.
