Certificate Issuance - Let's Encrypt
ACME Provider
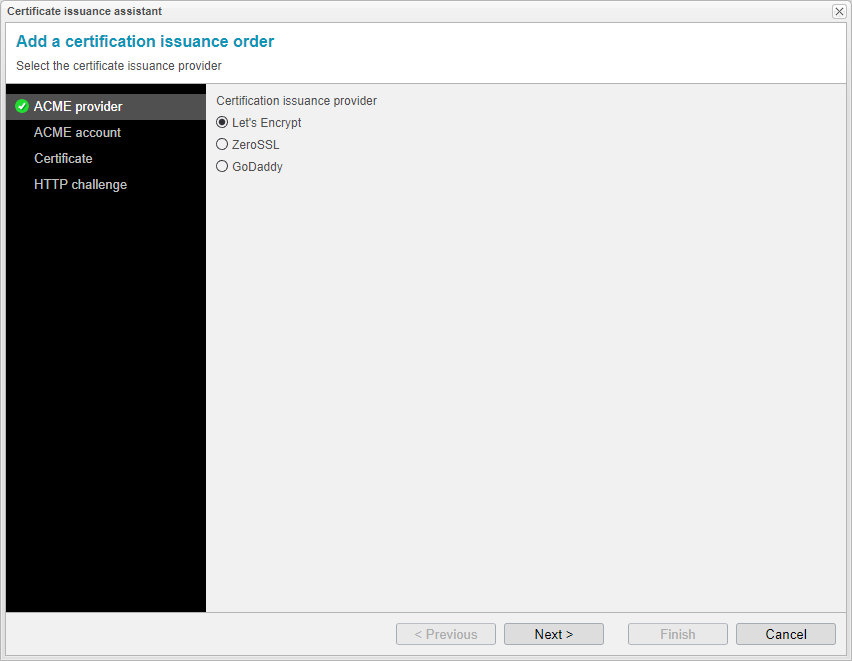
The certificate issuance assistant will now lead you through the subsequent configuration steps. Select the certification issuance provider here. We will introduce all three certification issuance providers, starting with Let's Encrypt. Check the next chapters for Certificate Issuance - ZeroSSL or Certificate Issuance - GoDaddy.
Choose Let's Encrypt as your ACME provider.
Click to proceed.

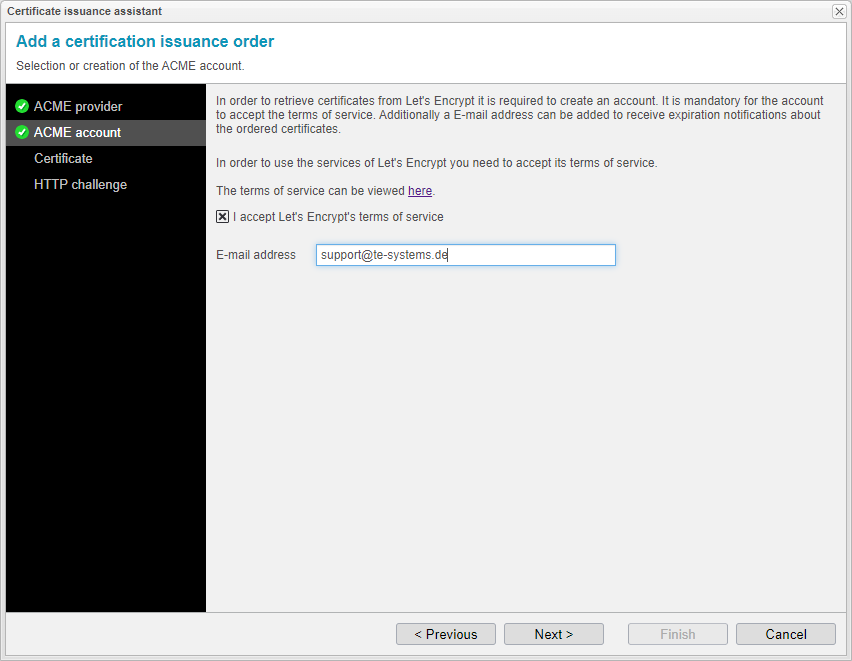
ACME Account
The certificate issuance assistant will create an account for a certification issuance provider like Let's Encrypt, but for other services like ZeroSSL or GoDaddy, an external account with an identifier and key is required. You need to enter an email address at this point.
We advise against using disposable email addresses, such as user@example.com, as they are detected and rejected by Let’s Encrypt. In such cases, the certificate retrieval cannot be completed.
Consent to the terms of service is a prerequisite for every certification issuance provider
Click to proceed.
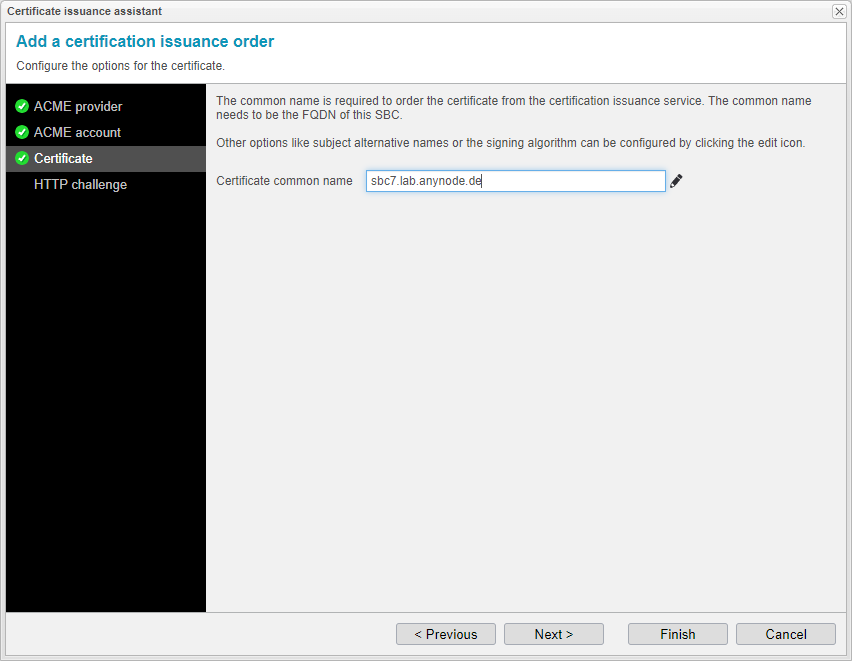
Certificate common name
To order a certificate, you must provide the common name, which should match the FQDN of the SBC. For additional options like subject alternative names or the signing algorithm, you can configure them by clicking the edit icon.
For further details on editing certificate settings, please refer to our Certificates chapter.
The hostname or entity specified as the common name will be listed as both the common name and a SAN in the certificate.
The used Subject Alternative Names need to point to the machine where the certificate is generated because the ACME provider will send a challenge to those SANs.
Click to proceed.
HTTP Challenge
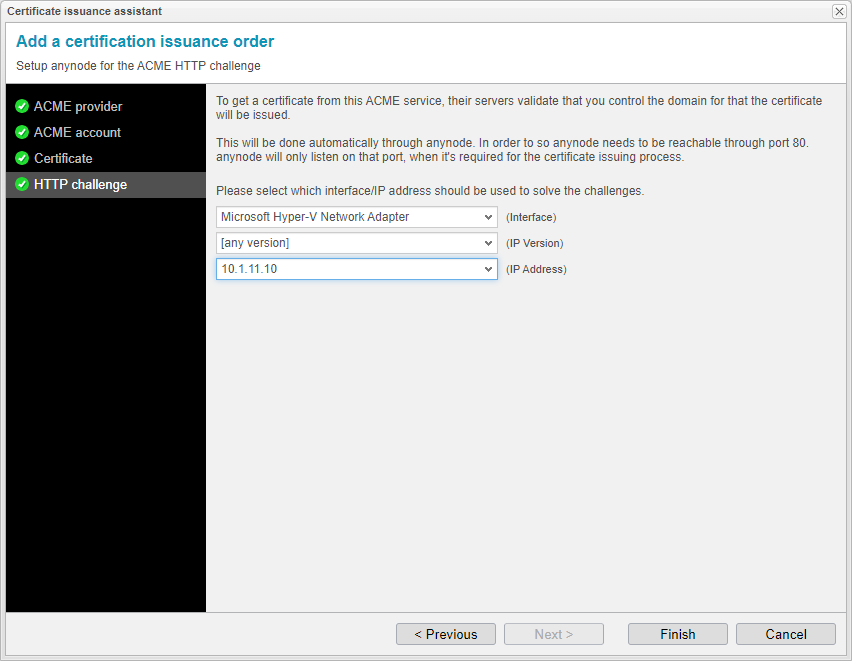
To order a certificate from an ACME service, their servers validate your control over the domain for which the certificate is requested. This validation is handled automatically by anynode.
anynode must be reachable via port 80, but it will only listen on that port during the certification issuance process when necessary. Therefore, port 80 needs to be open in the firewall as well.
Choose a network interface and an IP address which has an internet connection and can open a webserver to port 80.
Click to complete this configuration step.
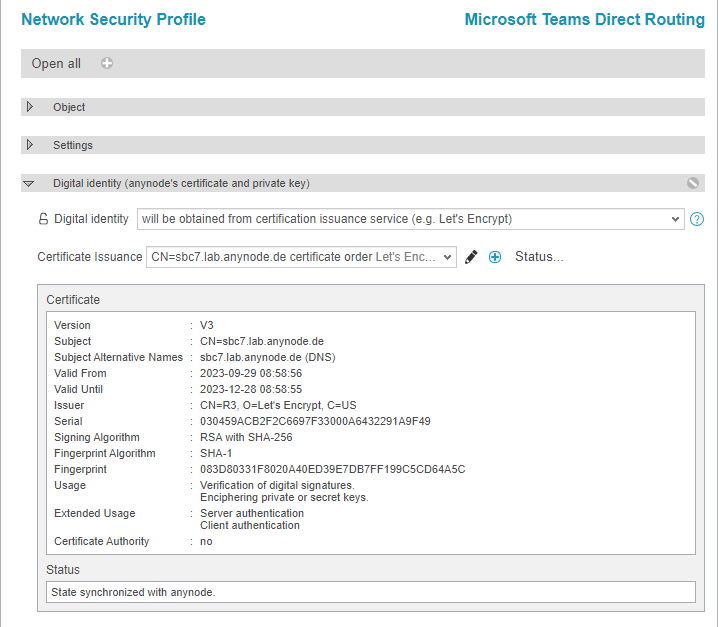
You will receive an overview of the ordered certificate after using .
Congratulations on the successful retroactive implementation of a certificate issuance provider to an existing node. We recommend the next chapter Certificate Validation in Dashboard for a quick check of successful certificate retrieval and the proper functionality of the node.
