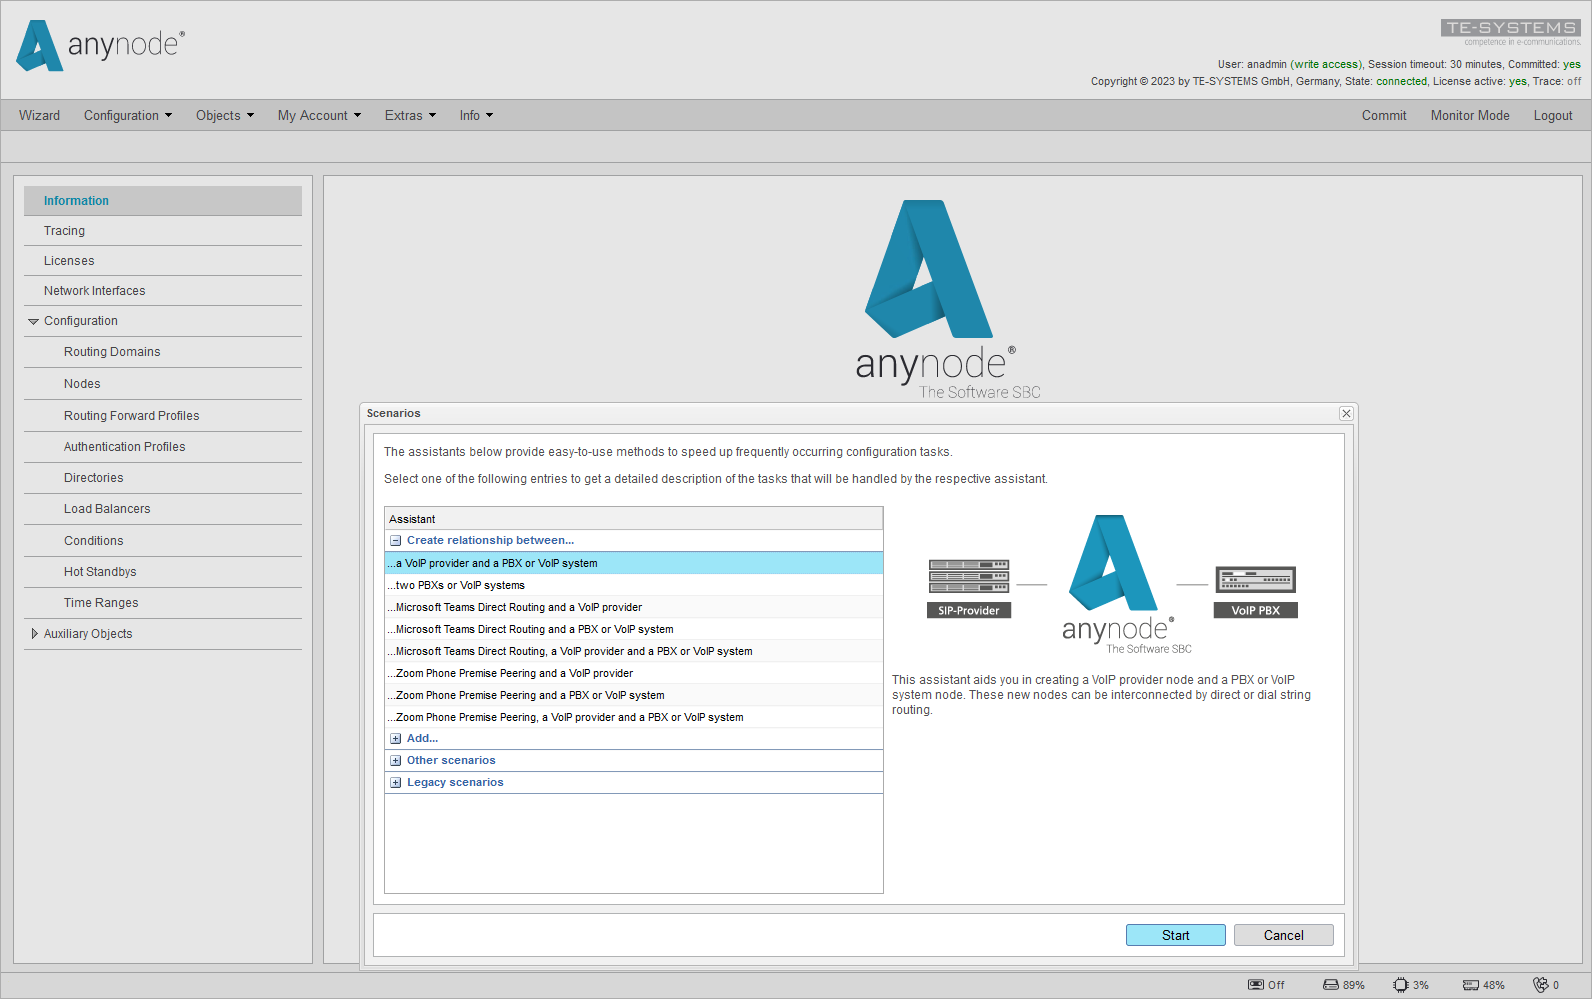
Guided Scenario Setup
To initiate the guided setup, the anynode Wizard will assist you through the process. In this example, we will be utilizing the Cisco Webex Calling and Voice over IP Provider scenario.
For the VoIP provider connectivity, a generic SIP provider template will be used. For the PBX or VoIP system part, the Cisco Webex Calling preset is selected.
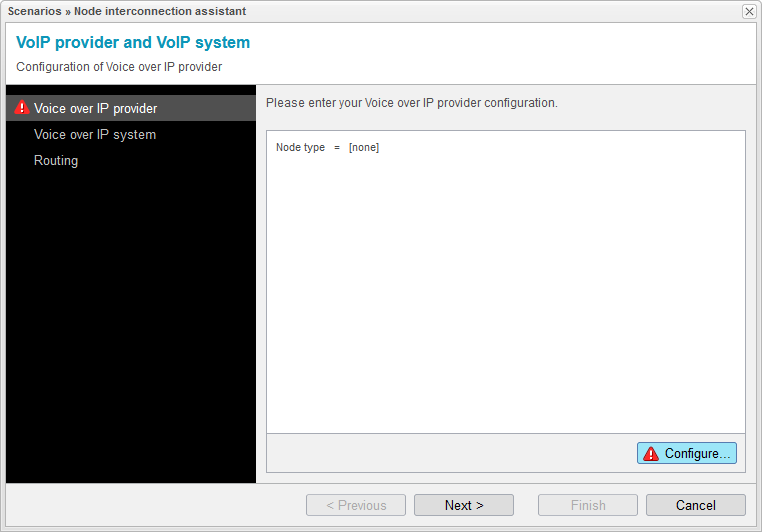
Once selected, use to run through the configuration tasks of the Node interconnection assistant.
The Node Interconnection Assistant takes care of the configuration process step-by-step, making sure to highlight any incomplete steps with a red exclamation mark on the left menu. On the right side, you'll find input forms where you'll need to provide user-specific or system-related inputs, which the assistant doesn't handle automatically. Once you've filled out a form correctly and completely, it will be marked with a reassuring green checkmark.
We recommend following the configuration in the order prescribed by the assistant. However, starting the scenario configuration at any point or selecting individual configuration steps directly from the left menu is also possible.
Nevertheless, as soon as the scenario is launched, the assistant begins with the first Node setup of the selected scenario.
Click to enter and set up the Node-related configurations.