Enabling ICE Lite in anynode
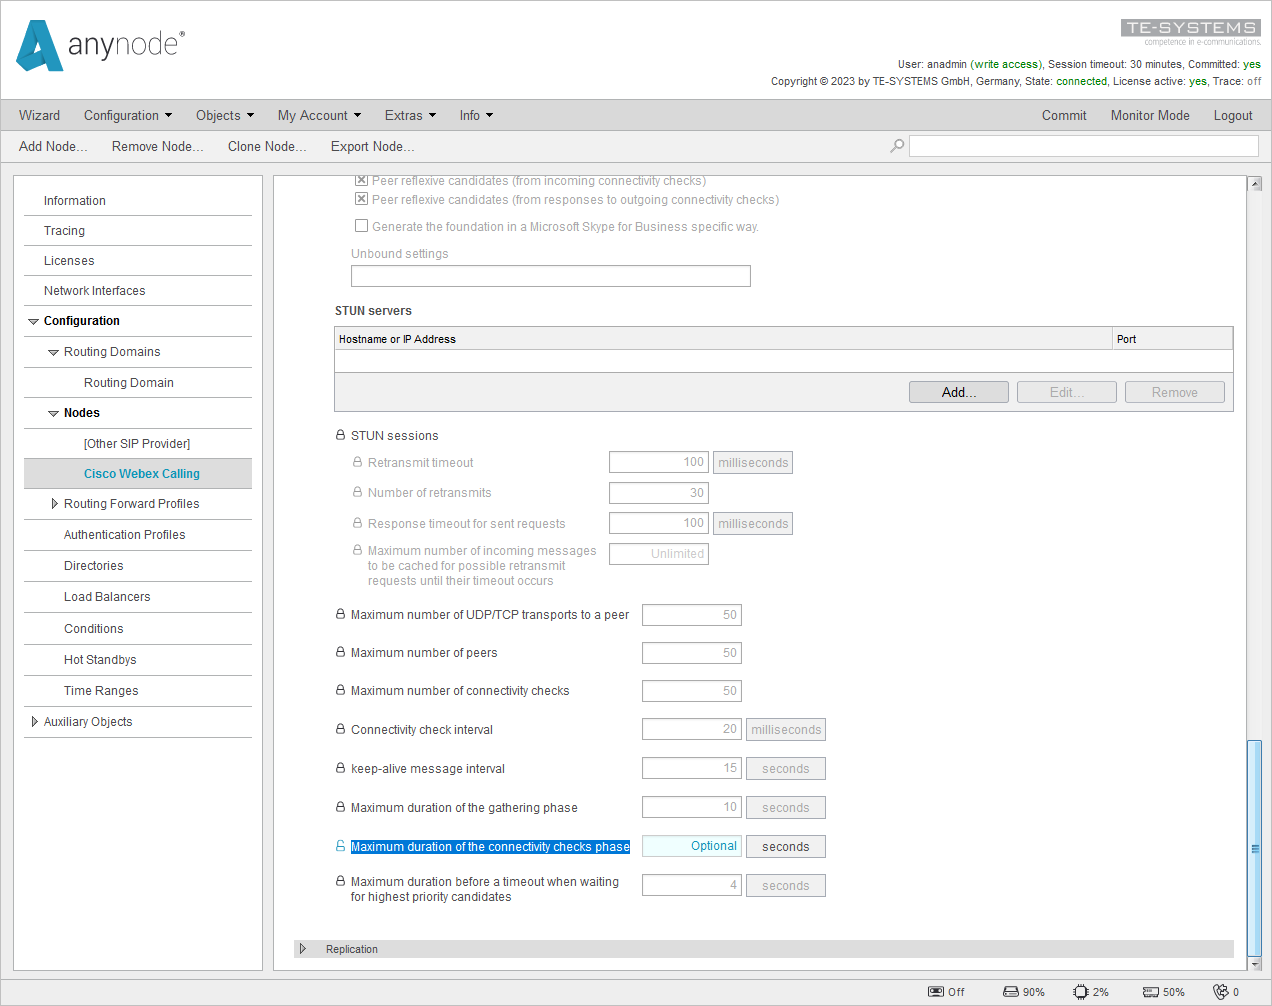
For enabling ICE lite, instead of anynode's recently used default with Full ICE support, change the view in anynode's frontend to the Cisco Webex Calling Node and its Media Negotiation dialog.
For a better illustration, the relevant configurations are highlighted in the next screenshots.
Proceed as follows:
-
Open the Ice protocol settings, then click on the (plus) symbol on the right to enhance the detail level of the frontend options. There, enable Activate the ICE protocol.
-
Afterward, unlock the ICE protocol properties and enable the option Use LITE implementation.

-
Next, scroll down to the bottom of the Ice protocol settings, unlock the option Maximum duration of the connectivity checks phase, and delete its default value.
If you consider enabling ICE Lite support, be aware of the information given in the document Cisco Preferred Architecture for Webex Calling and check closely in "Appendix A. Lite and Full Implementations" of the referring IETF ICE (Interactive Connectivity Establishment) RFC about its advantages and disadvantages.