Multi-Tenant Scenario
Since different multi-tenant setups are possible, this chapter describes a commonly used scenario.
Additional tenant nodes and routes can be easily added to an existing setup as described in this or similar documents.
It is important to note that the anynode wizard creates each Node with a unique IP address and port combination.
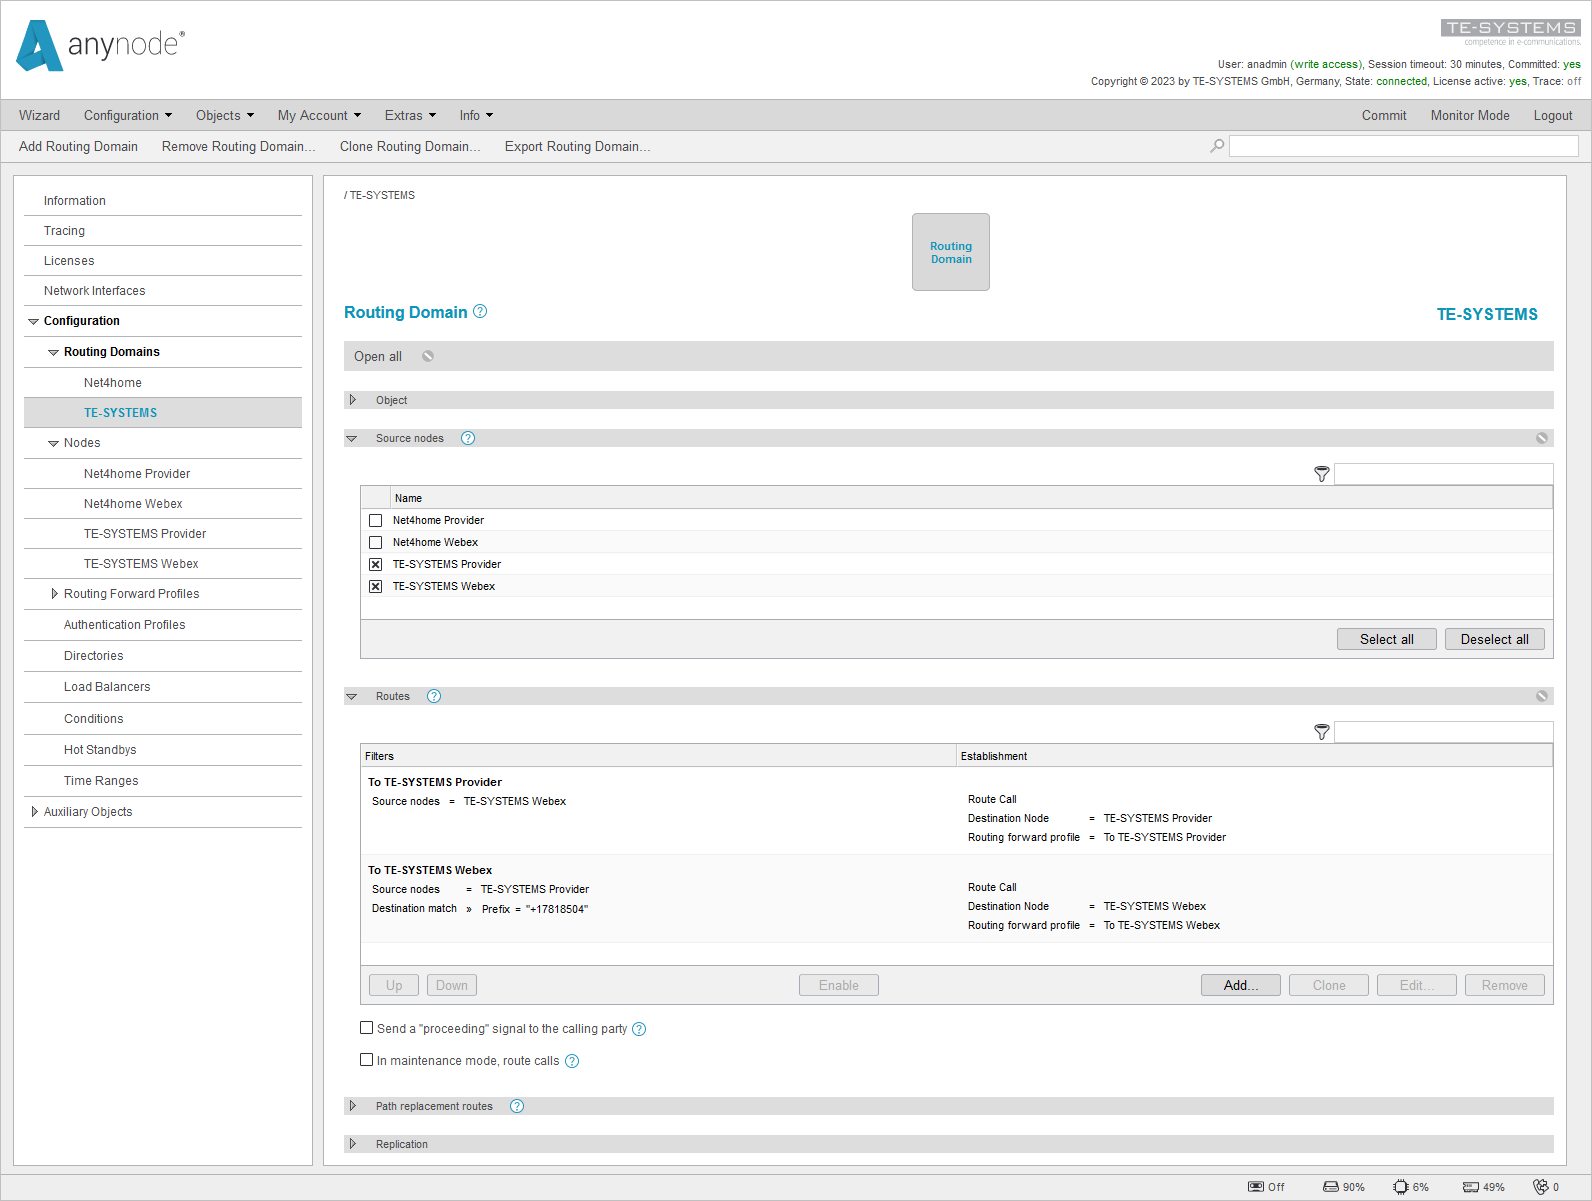
It is recommended that the customer's name be placed in front of the referring Node name. This will ensure that they are sorted and displayed in the correct order. It is also recommended that you create a separate routing domain for each customer tenant.
Note that anynode's REST API allows you to create nodes and routes automatically.
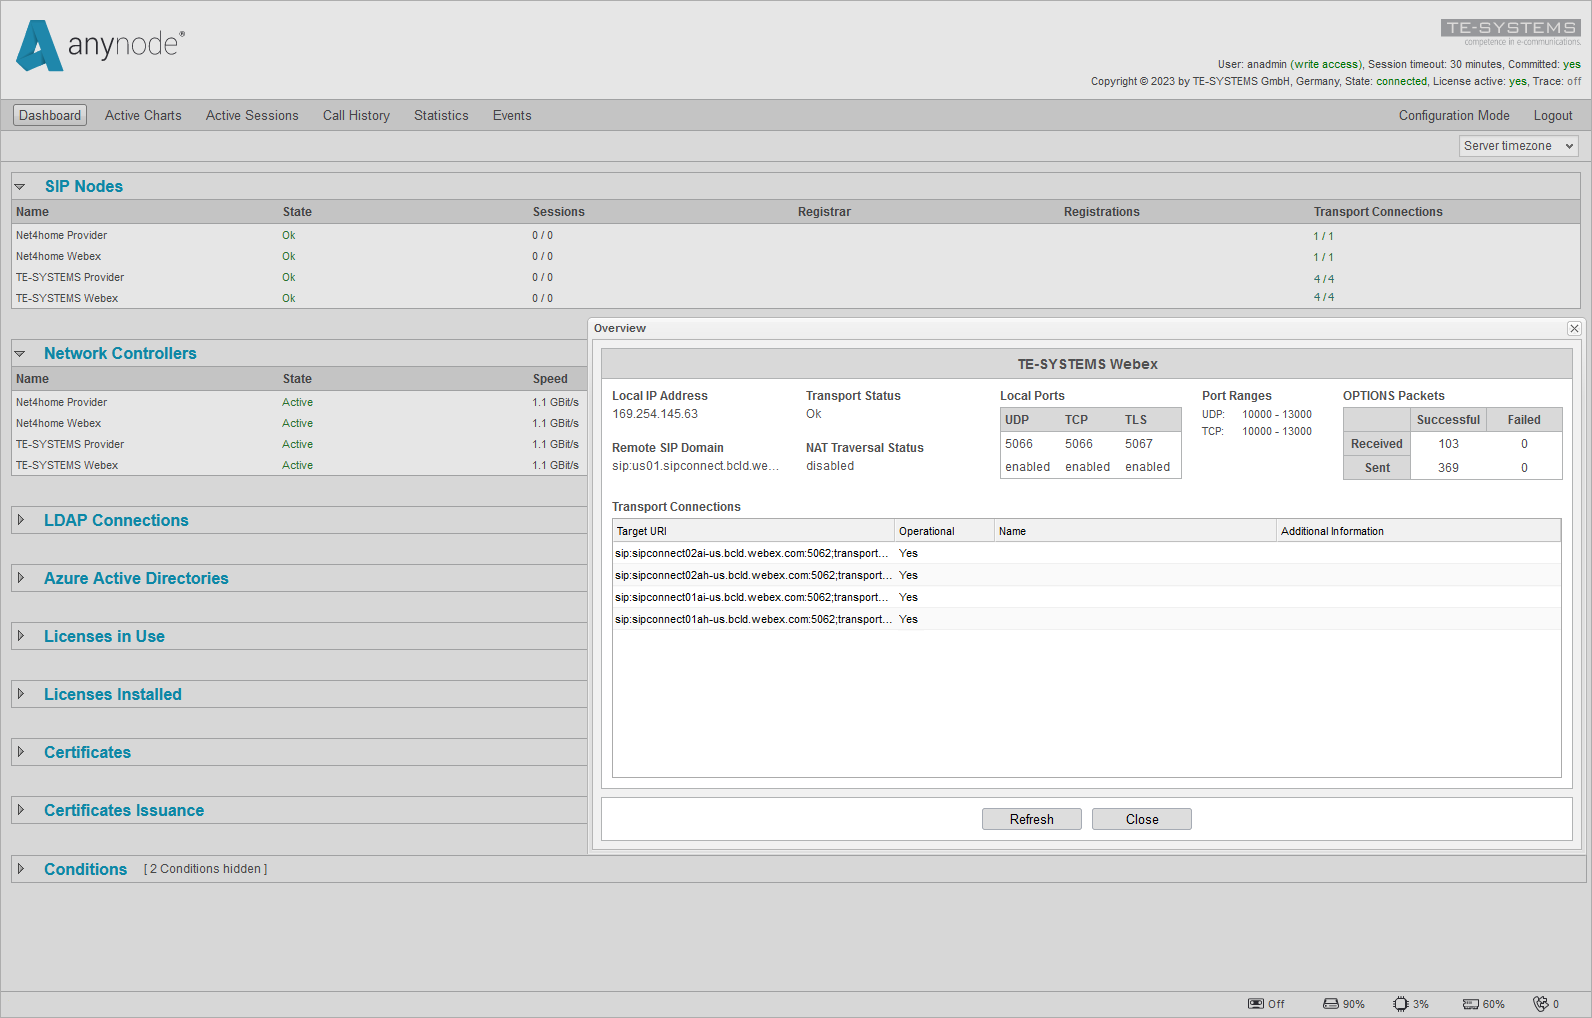
The following screenshots show a completed anynode configuration example with two customer tenants in two separate routing domains. The overview is shown in anynode's frontend dashboard view.